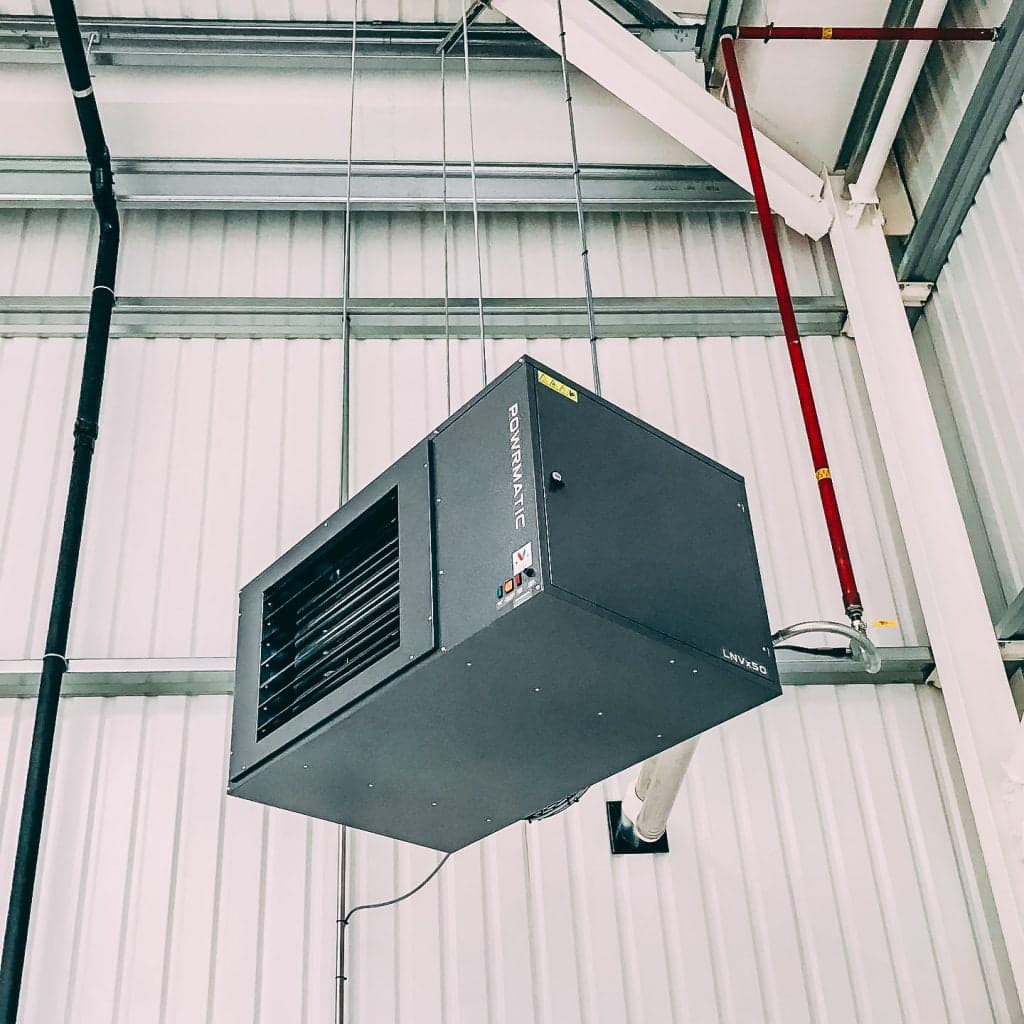
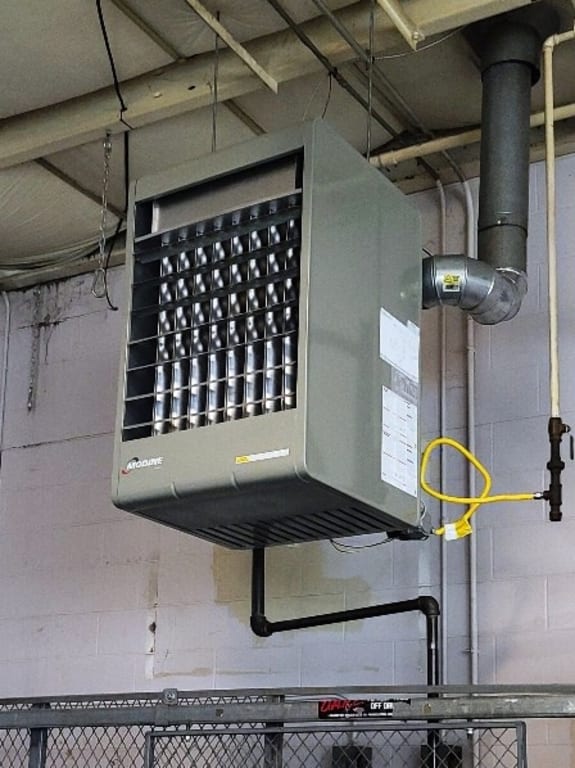
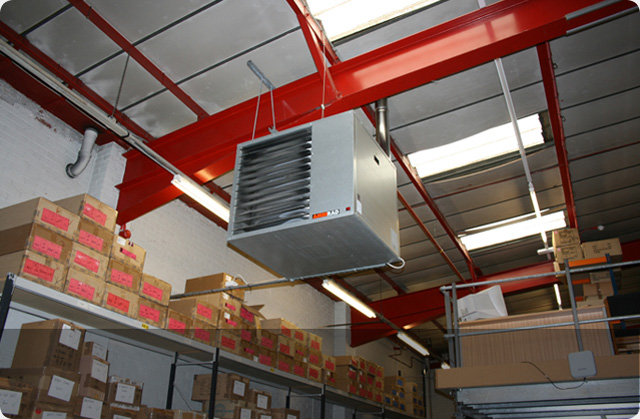
 It is crucial to perform maintenance on gas unit heaters if you want them to operate efficiently. Having every part tuned, cleaned, and inspected adequately will prevent expensive repairs.
To make performing maintenance on your gas unit heaters a little more manageable, the experts at RasMech have crafted a simple checklist. We hope this helps to ensure your units run safely and operate efficiently.
General Maintenance Procedures:
Check for any physical damage from the sheet metal, fans, air movers, wiring, gas pipes, vent systems, and equipment supports.
Examine the heat exchangers and burners and make sure they are clean.
Look to see that the vent system is in optimal working condition.
Inspect for any obstructions blocking the air inlet or discharge paths of the heat exchanger.
Gas Supply Procedures:
Survey the gas mains to ensure they’re turned on.
Check the heating equipment’s inlet pressure and manifold gas pressure to ensure they’re set properly.
Examine the gas regulators and make sure specific regulator vents aren’t plugged.
If you are using propane, check the main regulator from the tanks for proper settings, and see if there’s any damage to the regulators.
Check the propane tanks for proper size and liquid propane levels
Gas Controls Procedures:
Inspect the gas connections and ensure they’re connected properly. Note: This includes examining the pipe connections to the equipment, the pilot tubing connections at the gas valve, and the pilot burner.
Survey the main burner gas orifices, and make sure there’s no blockage. Check the pilot orifice for obstructions if it can’t be lit or won’t stay lit.
After a visual and physical inspection of the gas connection, turn on the gas and check for gas leaks. Note: You can check for gas leaks using a water and soap solution. Make sure you aren’t checking gas leaks with an open flame.
Check the electrical connections to the gas valve.
Look over the thermocouple, pilots, flame sensors, and ignition cables for cleanliness and tightness of connections.
Air Mover Procedures:
Lubricate the motor bearings.
Turning off the power, check the motor shaft to see if it turns freely and doesn’t bind. Note: To check the motor shaft, rotate the fan or blower wheel by hand.
Inspect the fan or blower wheel to ensure it isn’t damaged or binding.
Check that the fan isn’t loose on the motor shaft. If you’re using blower units, make sure the blower and motor pulleys are secure.
For blower units, inspect the belt for proper tension and look for signs of belt wear.
Survey the power connections from the motor to ensure everything is secure, and they aren’t loose. Note: Equipment using belt drives should have the belt tension checked during start-up. Conduct periodic inspection during the heating season to ensure everything operates efficiently.
Condensate Removal & Disposal Systems Procedures:
Make sure the condensate lines don’t have any obstructions.
Check that the condensate drain line “P” trap is primed and filled with water.
Inspect the condensate overflow switch works properly.
If the unit(s) has a condensate removal pump, check to make sure the pump works properly and isn’t damaged.
 Thermostat Procedures:
Check for cleanliness.
Survey the wiring to and from the thermostat.
Inspect the thermostat for a proper temperature setting.
Gas Burner Procedures:
Inspect the burner for cleanliness. Note: If the burner needs to be cleaned, clean it with a stiff brush (not a wire brush).
Check the inside of the burner tubes and clear them of any debris.
Ensure alignment of burner and that it is securely fastened.
Vent System Procedures:
Ensure the vent system is clear of any obstructions.
Be sure all connections are secure and tight.
Inspect the entire vent system and look for signs of corrosion or damage. Also look for issues that could lead to vented products entering the heated space or vented products recirculating into the combustion air.
Clean the vent pipe and the cap, if necessary.
Inspect the vent support system and ensure it’s secure and free of damage.
Check vent’s joints for signs of leakage. Note: Water marks on the outside of the vent pipe may indicate inadequate venting or improper vent insulation in unheated spaces. If you spot water marks, double-check to ensure the proper vent system is installed.
If your units are power vented, check the wiring connections to the power vent motor and the vent system safety pressure switch.
Check the pressure switch sensing tube for blockage or damage. Note: By turning off the main gas, cycle the thermostat to check the operation of the power vent. And verify the safety pressure switch is functioning properly.
Examine the exterior components of the vent system (exterior vent extensions, vent weather caps, combustion air intake weather caps, etc.). Check for any blockages at the intakes or vent discharges of the venting system.
Start-Up Standing Pilot Systems:
Turn the power unit off and the gas unit on.
Rotate the gas valve control knob to the “pilot” position.
While the gas valve knob is in the “pilot” position, manually un-press the knob, and light the pilot.
After 30 seconds, release the control knob, and leave the pilot lit.
Turn the gas valve control knob to the “On” position.
Restore the power back to the unit and cycle it through the thermostat to ensure it operates correctly.
Intermittent Pilot System:
Turn off the unit.
Remove the wire lead from the “main valve” terminal of the gas valve and protect the wire to prevent shorting.
Turn on the gas valve control knob and gas unit to restore power.
Cycle the unit through the thermostat and observe the pilot flame to ensure it’s on.
Pivot the thermostat down and observe if the pilot is extinguished.
After checking the electronic ignition pilot system functionality, turn off the power to the unit. Then reconnect the wire lead to the “main valve” terminal of the gas valve.
Restore power and cycle the unit again through the thermostat. Ensure that both the pilot and main burner ignitions start.
Reset the thermostat to the desired room temperature.
Direct-Spark Systems:
Turn off the power to the main unit.
Remove the wire lead from the “main valve” terminal of the gas valve. Protect the wire from shorting.
Turn on the gas valve control knob.
Restore power to the unit, but not to the main gas.
Cycle the unit through the thermostat and check if the direct-ignition is energized. Note: If the unit has a hot surface igniter, a yellowish glow will appear. If the unit has a spark ignition type igniter, a sparking sound will be heard. You may also see a blue spark in the igniter.
Put back the main gas to the unit and cycle the unit through the thermostat. Ensure both the main burner ignition system and the main burner ignition works correctly.
Reset the thermostat to the desired room temperature. Note: It’s crucial to inspect the burner flame to ensure it’s burning cleanly, and not wavering, rolling out, lifting, or fluctuating. If you do spot abnormal flames, check the equipment installation and your service manual, or call a qualified technician to alleviate the issue.
We Know Unit Heaters
At Rasmussen Mechanical Services, we know your gas unit heaters are vital to the comfort of your facility. Whether you are working on a gas unit heater, electric unit heaters, steam unit heater or oil-fired unit heaters we can help.
Our team of mechanical experts is here to help you develop a preventative maintenance program, suggest parts, assist in repairs, or provide replacements. Contact us online, chat with an agent or give us a call at 1-800-237-3141 to see how we can help.